Remote IoT Access: Mac, Router & Free Solutions Revealed!
Ever wished you could command your smart home from a beach in Bali, but your router stands guard like a digital Cerberus? Remote management of IoT devices, especially behind a router with MAC address filtering, can feel like navigating a labyrinth, but its entirely achievable, and often without spending a dime.
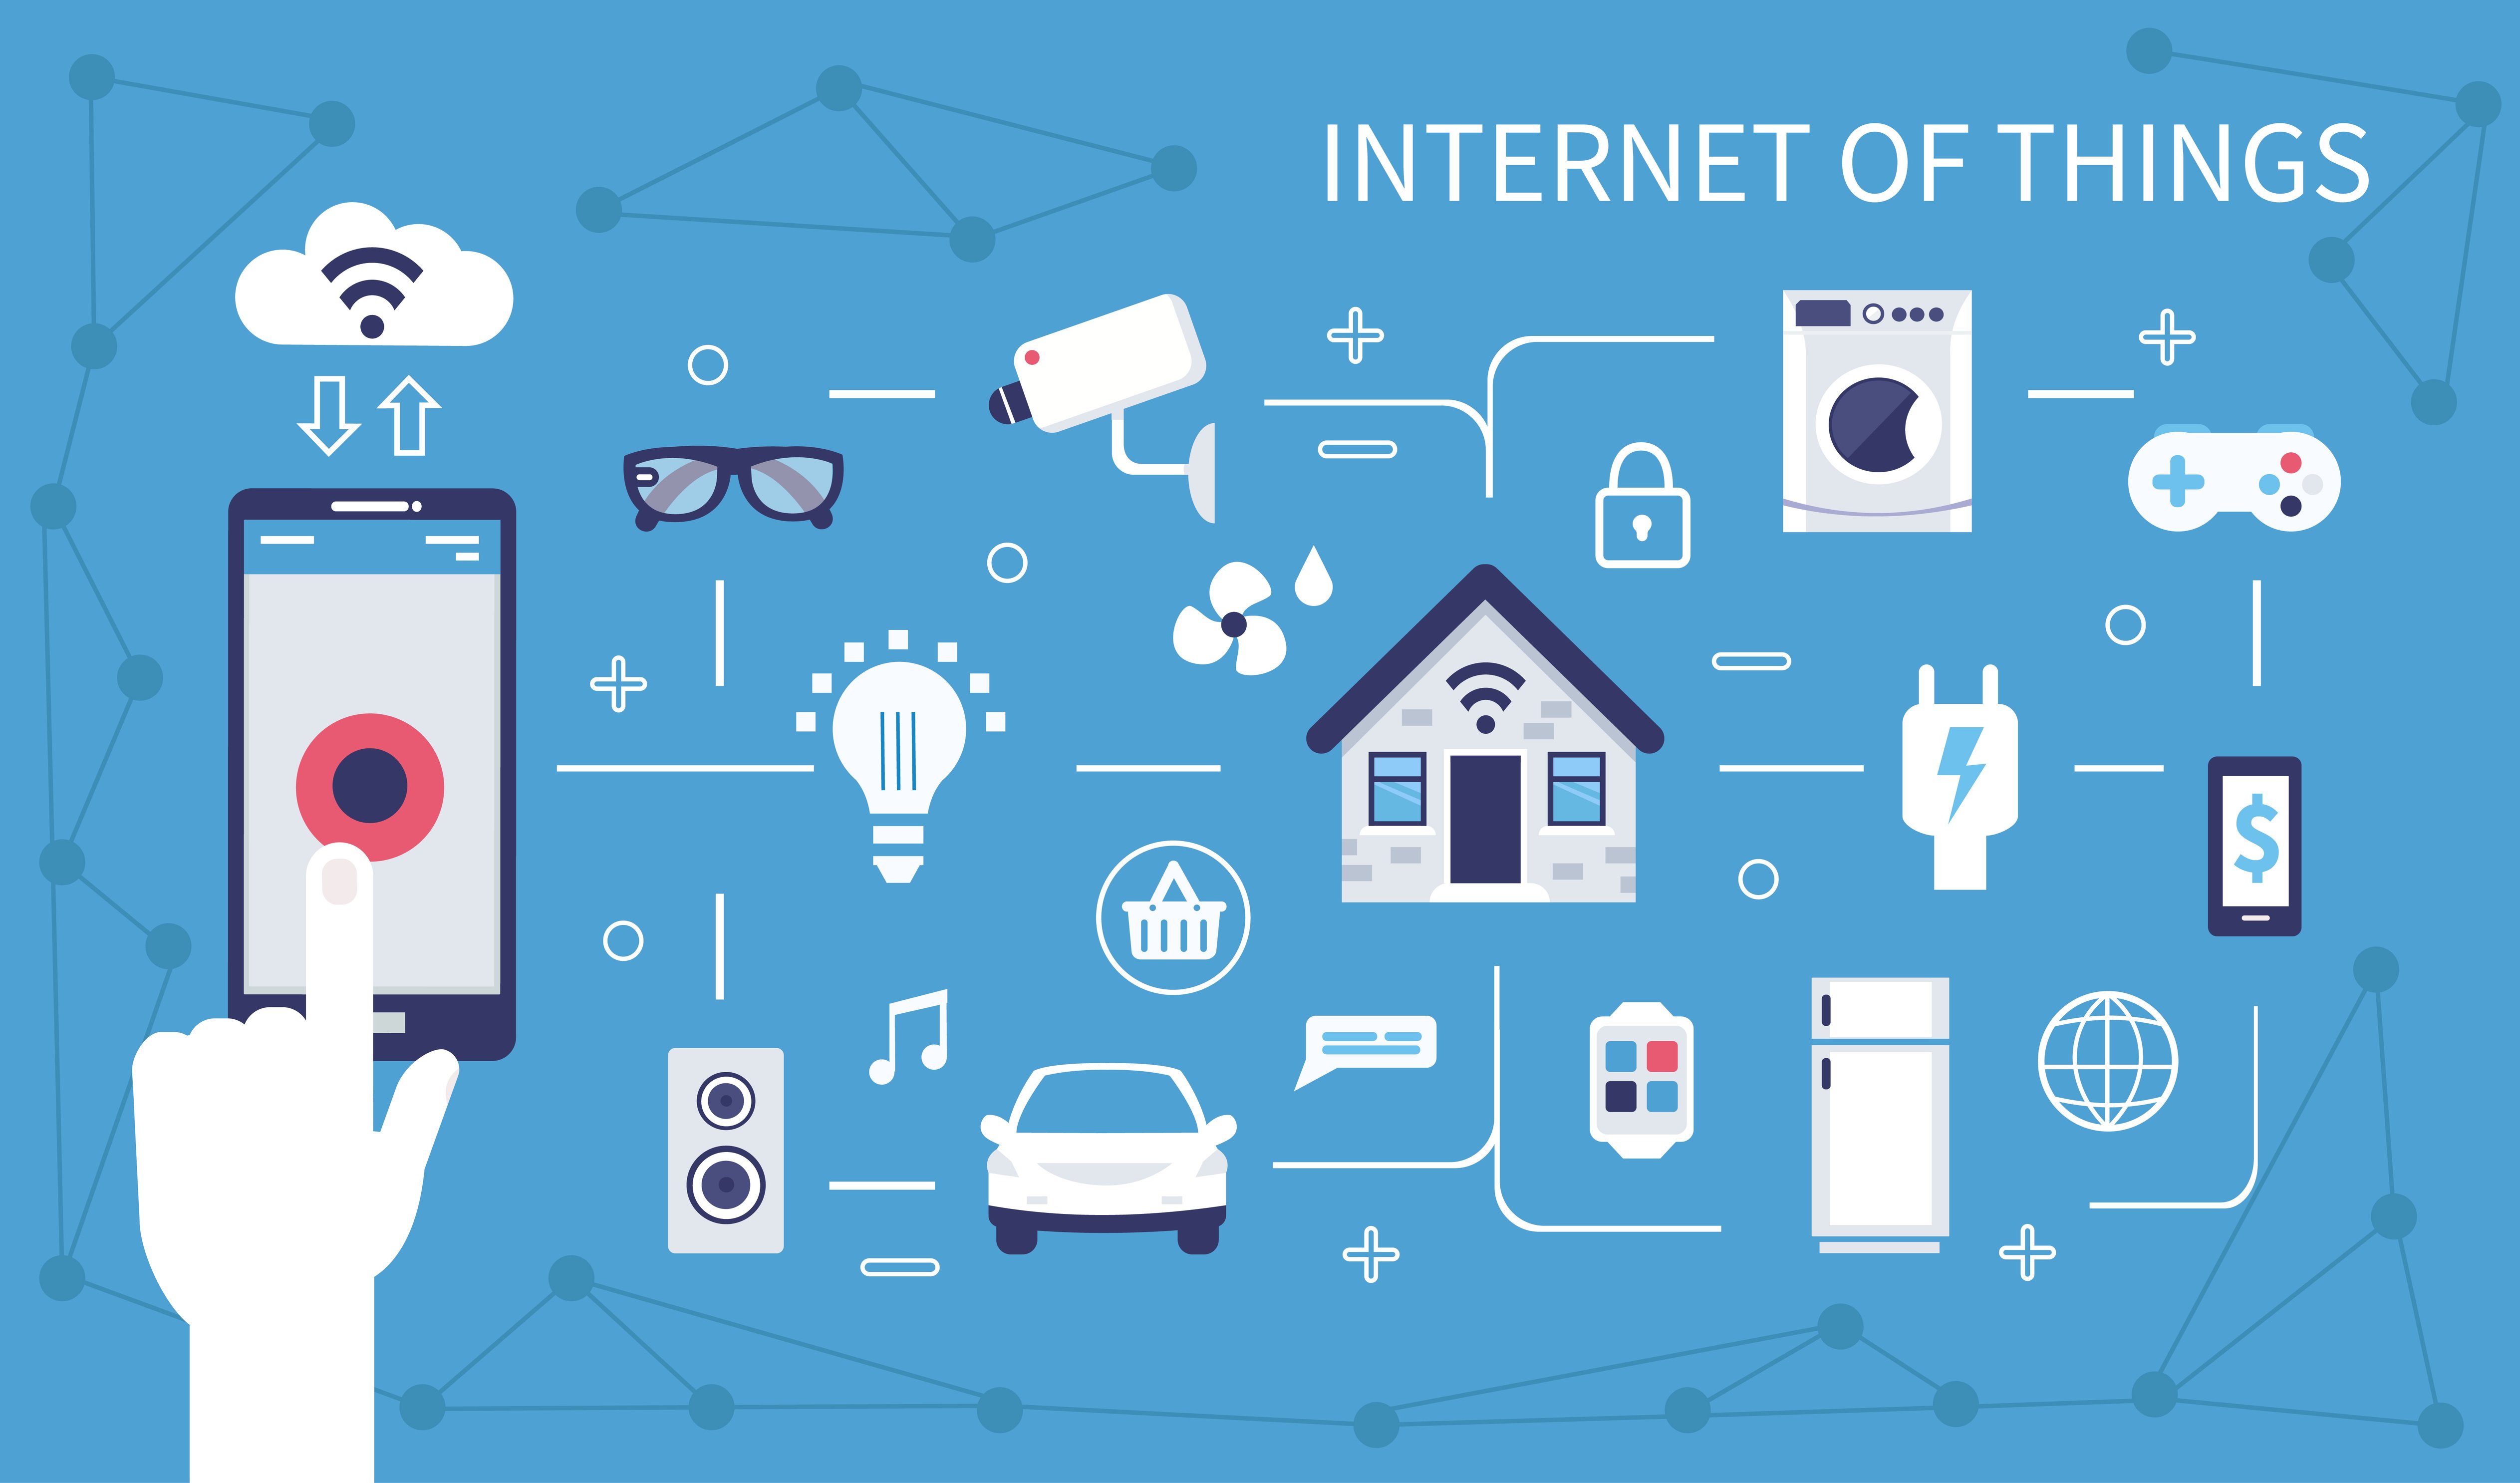
Before we get lost in the weeds of configurations and code, let's establish a shared understanding. IoT, or the Internet of Things, is more than just a buzzword; it's a rapidly expanding ecosystem of interconnected devices from smart thermostats and security cameras to industrial sensors and agricultural monitors. These devices, embedded with sensors, software, and connectivity, communicate and exchange data, enabling automation, optimization, and a wealth of insights. Key benefits include increased efficiency, improved decision-making, enhanced convenience, and new revenue streams. However, the power of IoT is fully unleashed when these devices can be accessed and managed remotely.
| Aspect | Details |
|---|---|
| Concept | Remote IoT access behind a router, especially with MAC address filtering. |
| Challenge | Bypassing router restrictions (firewalls, MAC filtering) to manage IoT devices remotely. |
| Solution Overview | Employing techniques like port forwarding, DDNS, reverse proxies, SSH tunneling, and IoT platforms for secure remote access. |
| Security Considerations | Prioritizing security measures like strong passwords, encryption, and firewall configurations to protect IoT devices. |
| Tools & Technologies | Router configuration, SSH clients, VNC, RDP, DDNS services, IoT platforms (e.g., SocketXP, Pinggy.io). |
| Benefits | Seamless remote device management, enhanced convenience, improved security, and network organization. |
| Platforms | macOS, Linux (Raspberry Pi), Android. |
| Date | May 13, 2025 |
The challenge arises when these devices reside behind a router, particularly one with MAC address filtering enabled. Routers, acting as gatekeepers, control network traffic and protect devices from unauthorized access. MAC address filtering adds another layer of security, allowing only devices with pre-approved MAC addresses to connect to the network. This is where accessing "remoteiot behind a router mac free" becomes a focal point for many users.
- Ofilmywap Your Gateway To Movies Shows 2024 Guide
- New Hindi Movies 2025 Find Latest Releases Where To Watch
So, how do we turn a router from a roadblock into a gateway? Several techniques can be employed. One common method is port forwarding. This involves configuring your router to direct incoming traffic on a specific port to the internal IP address of your IoT device. Imagine your router as a hotel, and your IoT device as a guest room. Port forwarding is like telling the front desk (the router) that when someone calls for room 101 (the specific port), they should be directed to that particular room (your IoT device). For example, you could forward port 22 (the standard SSH port) to the IP address of your Raspberry Pi running an IoT application.
However, most home internet connections use dynamic IP addresses, meaning your public IP address can change periodically. This is where Dynamic DNS (DDNS) comes into play. DDNS services provide a stable hostname that automatically updates to reflect your current IP address. Think of it as a forwarding address that always points to your house, even if your street name changes. Services like DynDNS or No-IP offer free tiers that are suitable for many basic setups. Combining port forwarding with DDNS allows you to consistently reach your IoT devices even with a dynamic IP address.
Another powerful technique is using a reverse proxy. A reverse proxy sits in front of your IoT devices and acts as an intermediary between the outside world and your internal network. It can provide several benefits, including enhanced security, load balancing, and improved performance. Instead of directly exposing your IoT devices to the internet, you expose the reverse proxy. The reverse proxy then forwards requests to the appropriate device based on the configuration. This adds an extra layer of protection and allows you to manage multiple IoT devices through a single point of access.
- Filmyfly 2024 South Movies Your Ultimate Blockbuster Guide
- Somali Wasmo Telegram Inside The Channels Amp Culture 2025
For developers and those comfortable with the command line, SSH (Secure Shell) tunneling is a versatile option. SSH tunneling creates an encrypted connection between your computer and your IoT device, allowing you to securely forward traffic through the tunnel. This is particularly useful for accessing services that are not directly exposed to the internet. Many developers leverage SSH to remotely manage IoT devices, especially Raspberry Pi's. The beauty of SSH is its inherent security all traffic is encrypted, protecting your data from eavesdropping. Even if your devices are hidden behind firewalls or NAT routers, this iot remote ssh feature helps access. Follow the below steps to setup socketxp iot agent and remote ssh into your iot using socketxp iot remote access solution. Download and install the socketxp iot agent on your iot device from here.
Security is paramount. Before implementing any of these techniques, ensure you've taken basic security precautions. Change the default passwords on your router and IoT devices. Use strong, unique passwords for each device and service. Enable a firewall on your router and configure it to only allow necessary traffic. Keep the firmware on your router and IoT devices up to date to patch any security vulnerabilities. Employing a VPN (Virtual Private Network) can add another layer of security by encrypting all your internet traffic.
Several IoT platforms simplify remote access and management. These platforms often provide features like device registration, remote configuration, data visualization, and secure communication channels. Services like SocketXP and Pinggy.io offer solutions that bypass the need for manual port forwarding and DDNS configuration. SocketXP, for instance, offers an IoT agent that can be installed on your device, allowing you to establish secure remote SSH access without complex network configurations. Imagine being able to manage your iot devices without worrying about your routers firewall or dealing with annoying mac address restrictions. Its like having a remote control that works anywhere in the world, and trust me, its easier than you think. Pinggy.io offers secure tunnels for seamless remote management.
Now, lets delve into the specifics of accessing your IoT devices from a Mac without relying on Windows. From your Mac, use the `nc` (netcat) command in Terminal to test the connection. The `nc` command is a versatile tool for network debugging and can be used to verify that port forwarding is working correctly. Open Terminal on your Mac and type `nc -zv [your_ddns_hostname] [port_number]`, replacing `[your_ddns_hostname]` with your DDNS hostname and `[port_number]` with the port you forwarded to your IoT device. A successful connection indicates that port forwarding is working correctly.
For example, if your DDNS hostname is `myiotdevice.ddns.net` and you forwarded port 22 to your Raspberry Pi, you would type `nc -zv myiotdevice.ddns.net 22`. If you see a message indicating a successful connection, congratulations! You've successfully configured port forwarding and can now access your IoT device remotely via SSH. You can use a terminal application like iTerm2 or the built-in Terminal app to connect to your device using the command `ssh pi@myiotdevice.ddns.net -p 22` (assuming the username on your Raspberry Pi is "pi").
What if you're dealing with MAC address filtering? The simplest solution is to add the MAC address of your Mac to the router's allowed list. This will allow your Mac to connect to the network, and you can then use the techniques described above to access your IoT devices. Refer to your router's documentation for instructions on how to add MAC addresses to the allowed list. You may need to log into your router's administration interface, typically accessed through a web browser by entering your router's IP address (often 192.168.1.1 or 192.168.0.1) in the address bar.
Alternatively, some routers allow you to disable MAC address filtering temporarily. This can be useful for troubleshooting or for adding new devices to the network. However, it's generally recommended to keep MAC address filtering enabled for security reasons. Consider this guide for comprehensive steps to use remoteiot behind router mac a comprehensive guide, using port forwarding! Managing iot devices remotely behind a router with a mac address can be challenging, but its a skill worth mastering in todays interconnected world, also this guide will walk you through how to use remote iot behind a routermac free, no strings attached!
Tools like `masahub 2com` can also aid in network discovery and configuration, although their relevance depends on the specific network setup and requirements. Understanding router and MAC address basics is always the first step.
Several factors can contribute to challenges in setting up remote IoT access. Firewalls, NAT (Network Address Translation), and incorrect port forwarding configurations are common culprits. Double-check your router settings and ensure that the correct ports are being forwarded to the correct IP addresses. Use online port scanning tools to verify that the ports are open and accessible from the internet. Remember, proper router configuration is the backbone of the best remote iot behind router raspberry pi free system, ensuring reliable and secure remote access.
Don't overlook the power of readily available tools. VNC (Virtual Network Computing) and RDP (Remote Desktop Protocol) provide graphical interfaces for remotely controlling your IoT devices, particularly if they have a desktop environment. Just remember to secure these connections with strong passwords and consider using SSH tunneling to encrypt the traffic. Using remoteiot behind a router enhances security and network organization, also routers act as gatekeepers, managing incoming and outgoing traffic while protecting your devices from unauthorized access.
Ultimately, accessing remoteiot behind a router on a Mac without Windows involves a combination of networking knowledge, careful configuration, and a strong emphasis on security. By understanding the principles of port forwarding, DDNS, reverse proxies, SSH tunneling, and IoT platforms, you can establish seamless and secure remote access to your IoT devices. Whether you're managing a smart home, monitoring industrial equipment, or controlling a fleet of robots, the ability to remotely access and manage your IoT devices is a powerful capability. So, buckle up and let's dive in!
Article by Lottie Gulgowski indinews 024 may 13, 2025
- Masa49com Your Ultimate Guide Online Resource Hub More
- Diva Flawless Onlyfans Inside Her Explicit Content World
How To Use Remote Manage IoT Behind Router Mac Free A Comprehensive Guide

How To Use Remote Manage IoT Over Internet Mac Without Hassle
Mastering Remote Management Of IoT Devices Behind A Router On Android
