Easy Raspberry Pi SSH Access: A Step-by-Step Guide!
Have you ever wished you could control your Raspberry Pi from anywhere, without needing a monitor, keyboard, or mouse directly connected? The answer lies in Secure Shell (SSH), a powerful tool that grants you remote access to your tiny computer, opening up a world of possibilities for tinkering, development, and server management.SSH, or Secure Shell, is a network protocol that allows you to securely access and control a remote computer over an unsecured network. Think of it as a digital tunnel that encrypts all communication between your computer and the Raspberry Pi, protecting your data from prying eyes. For Raspberry Pi enthusiasts, enabling SSH is often the first step in unlocking the full potential of these versatile devices, especially when setting them up in "headless" mode without a monitor. But before you can harness this power, you need to know how to enable it and connect. Let's delve into the methods, potential pitfalls, and troubleshooting tips to get you started.
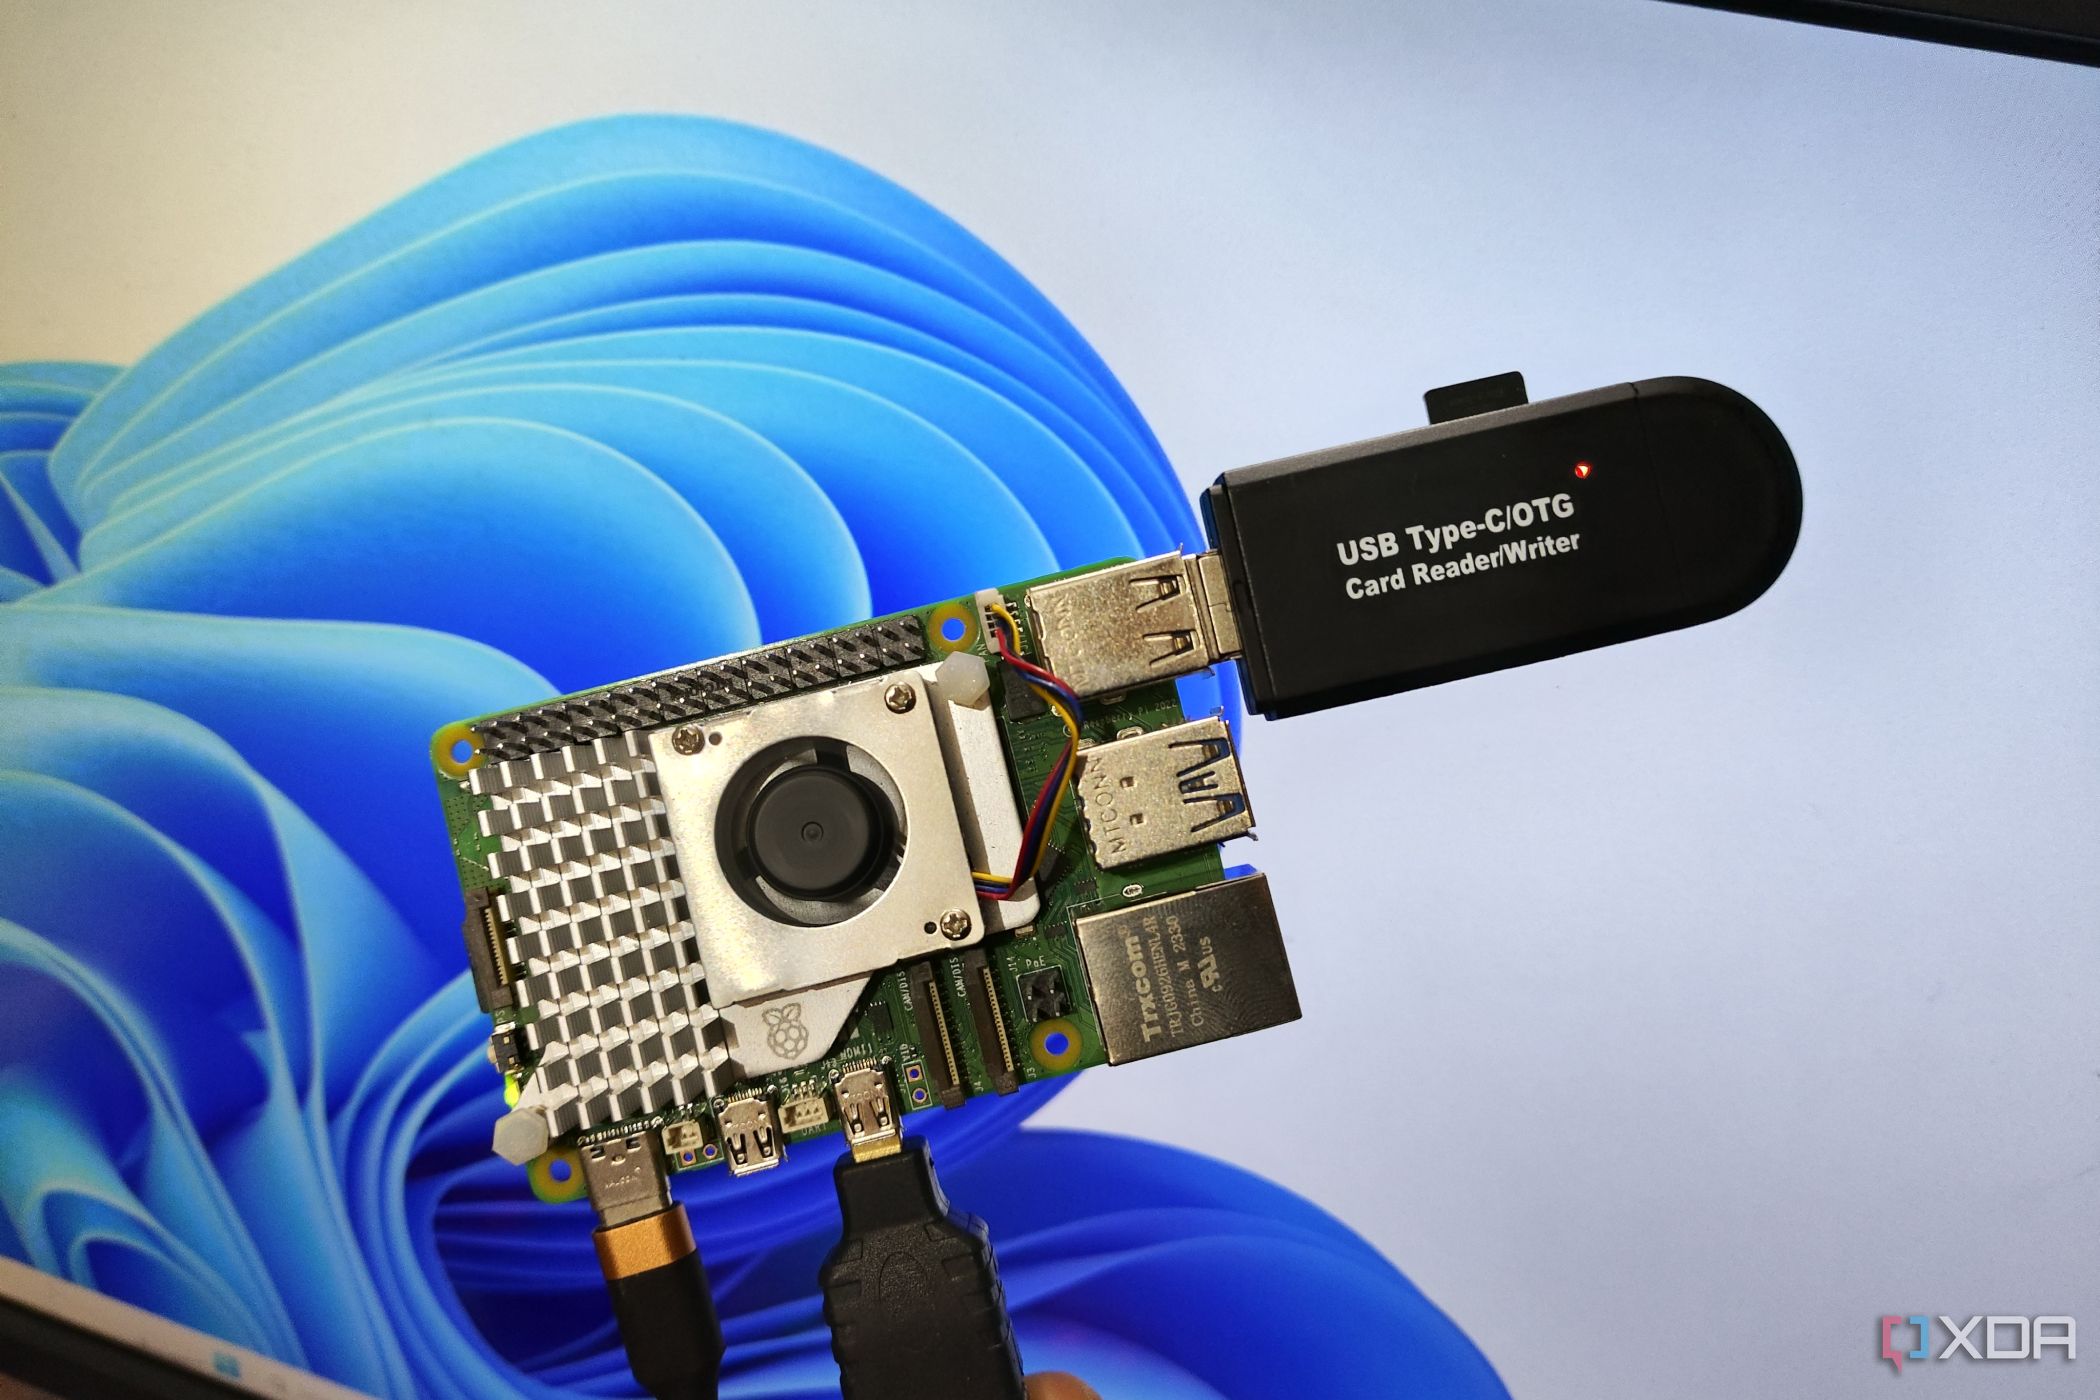
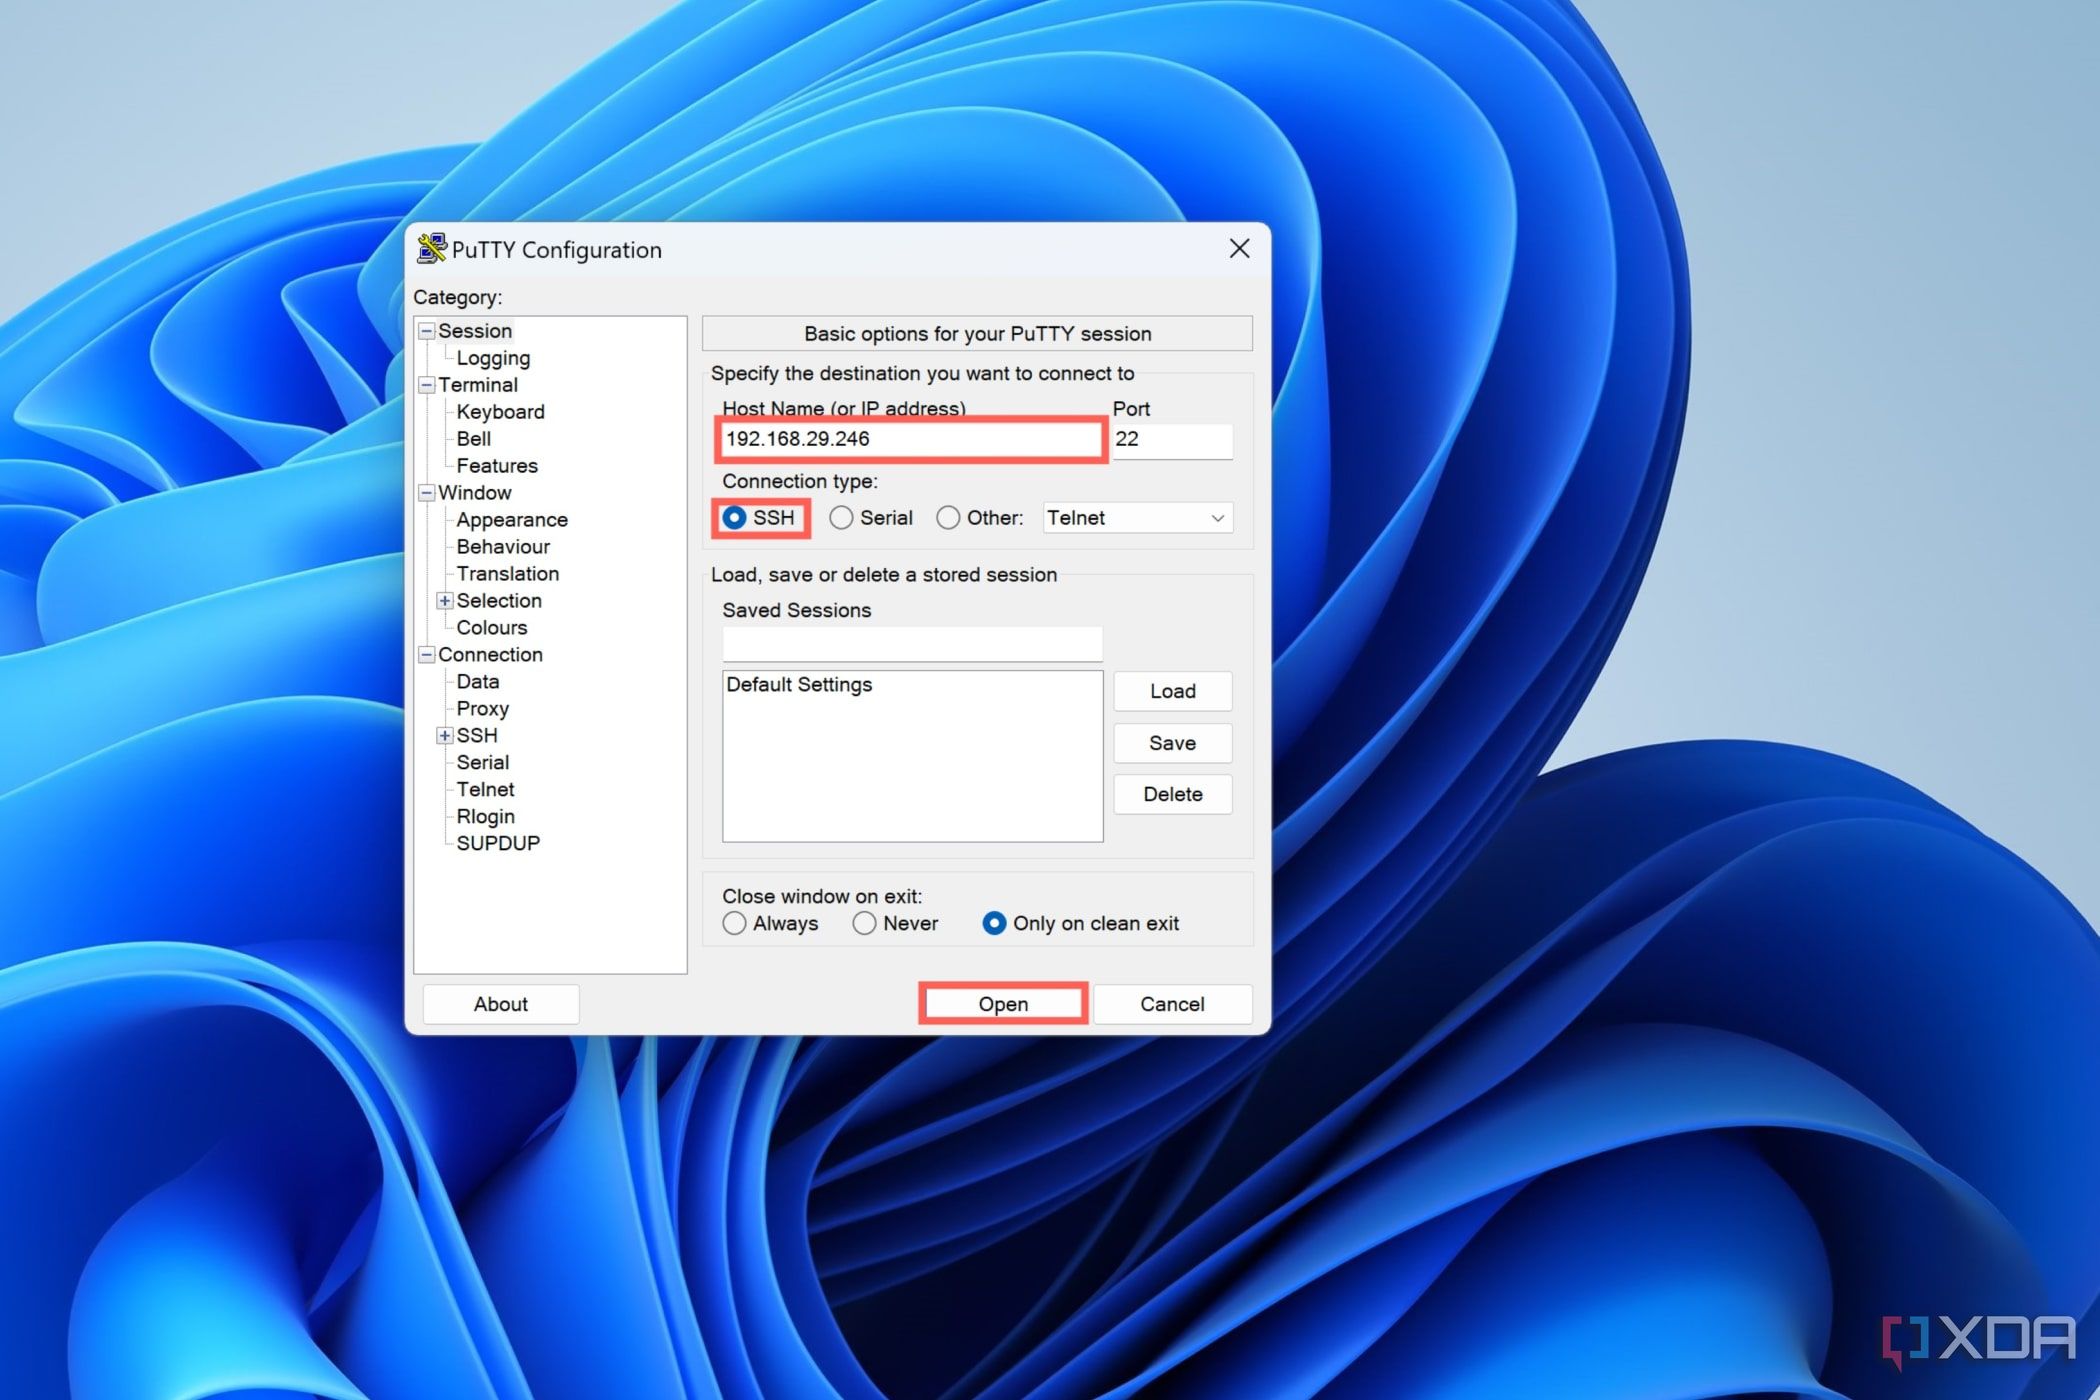
The journey to remote Raspberry Pi control begins with enabling SSH. By default, SSH is often disabled on Raspberry Pi OS for security reasons. This is a good practice, as it prevents unauthorized access to your device. Thankfully, enabling it is a straightforward process, and there are several ways to do it, catering to different setup scenarios.One of the easiest methods, especially for a fresh installation, is using the Raspberry Pi Imager. This tool, recommended for headless setups, offers advanced options that allow you to configure SSH during the OS installation. When flashing the SD card, look for the "Advanced Options" (often accessible by pressing Ctrl+Shift+X). Here, you can enable SSH, set a hostname, and even configure user credentials all before the Raspberry Pi boots up for the first time. This is a huge time-saver for headless configurations, as it eliminates the need for a monitor and keyboard to initially set up SSH.Another common method involves accessing the Raspberry Pi's boot partition. If you're setting up your Raspberry Pi without a monitor (headless mode), simply remove the storage device (SD card) from the Raspberry Pi and insert it into your computer. Navigate to either the '/bootfs' or '/boot' directory, depending on your operating system, and create an empty file named 'ssh'. This simple act tells the Raspberry Pi to enable the SSH server on the next boot. Note that the file should be completely empty and without any extension.If you have access to the Raspberry Pi OS desktop environment, enabling SSH is even simpler. Open the Raspberry Pi Configuration tool (raspi-config), usually found under the Preferences menu. Navigate to the "Interfaces" tab, and you'll find an option to enable or disable SSH. Simply select "Enable" and confirm your choice. This graphical interface provides a user-friendly way to manage SSH settings.Once SSH is enabled, the next step is to find your Raspberry Pi's IP address. This is crucial because you need this address to connect to your Pi remotely. There are several ways to find the IP address, depending on your setup and network configuration.If you have display access, you can use the terminal on the Raspberry Pi. Open a terminal window and type `hostname -I`. This command will display the IP address(es) assigned to your Raspberry Pi. Alternatively, you can use the command `ifconfig` (or `ip addr` on newer systems) to view detailed network information, including the IP address.Another method involves checking your router's administration panel. Most routers have a web interface that allows you to view connected devices and their corresponding IP addresses. Log in to your router's admin panel (usually by typing its IP address into a web browser), and look for a section that lists connected devices. You should be able to identify your Raspberry Pi by its hostname (usually "raspberrypi" by default).Windows 10 and 11 offer built-in tools for discovering devices on your network using mDNS (Multicast DNS). In many cases, you can access your Raspberry Pi using the hostname `raspberrypi.local` instead of the IP address. This is particularly convenient as you don't need to manually find the IP address.With the IP address in hand (or the hostname if mDNS is working), you can now connect to your Raspberry Pi via SSH from your Windows computer. Windows 11 comes with an integrated SSH client that you can use through the command prompt or Windows PowerShell. Click the start menu, type "cmd" or "powershell," and press enter. In the command prompt or PowerShell window, type `ssh pi@your_raspberry_pi_ip_address` (replacing `your_raspberry_pi_ip_address` with the actual IP address of your Raspberry Pi). You will be prompted for the password for the "pi" user (the default username is "pi," and the default password is "raspberry").If you prefer a graphical SSH client, PuTTY is a popular and free option for Windows. Download and install PuTTY from its official website. Open PuTTY, and in the "Hostname" field, type in the IP address of the Raspberry Pi or `raspberrypi.local` by default. The port field should be 22 (the default SSH port), and the connection type is SSH. Click "Open" to initiate the connection. A terminal window will appear, prompting you for your login credentials.An alternative for Windows users is using the Windows Subsystem for Linux (WSL). WSL allows you to run a Linux environment directly on Windows, providing access to Linux tools and utilities, including the OpenSSH client. Once you have WSL set up, you can open a Linux terminal and use the `ssh` command as you would on a native Linux system.Once connected via SSH, the next step is to log into the Raspberry Pi and get everything updated. After successfully entering your username and password, you'll be greeted with a command prompt on your Raspberry Pi. It's always a good idea to update the system software to the latest versions. Run the following commands: `sudo apt update` and `sudo apt upgrade`. These commands will update the package lists and upgrade any outdated packages.While SSH provides secure communication, it's crucial to take additional security measures to protect your Raspberry Pi. The default username and password ("pi" and "raspberry") are well-known and should be changed immediately. Use the `passwd` command to change the password for the "pi" user. You can also create new user accounts with strong passwords and disable the default "pi" user for enhanced security.Another important security measure is to use SSH keys for authentication instead of passwords. SSH keys provide a more secure way to authenticate, as they rely on cryptographic key pairs rather than easily guessable passwords. You can generate an SSH key pair on your computer using the `ssh-keygen` command and then copy the public key to your Raspberry Pi using the `ssh-copy-id` command. Once the public key is copied, you can disable password authentication in the SSH server configuration file (`/etc/ssh/sshd_config`) by setting `PasswordAuthentication no`.Sometimes, connecting to your Raspberry Pi via SSH can be challenging. Here are some common troubleshooting tips to help you resolve connection issues. First, ensure that the Raspberry Pi is properly connected to the network and has a valid IP address. Double-check the IP address you're using to connect. If you're using the hostname `raspberrypi.local`, make sure that mDNS is working correctly on your network.If you're still having trouble connecting, check the SSH server status on the Raspberry Pi. Open a terminal window on the Raspberry Pi (either directly or via another connection method) and run the command `sudo systemctl status ssh`. This will show you the status of the SSH service. If the service is not running, you can start it with the command `sudo systemctl start ssh`.Firewall settings can also interfere with SSH connections. Ensure that your firewall is not blocking SSH traffic on port 22. You may need to configure your firewall to allow incoming connections on port 22 from your computer's IP address.In some cases, network configuration issues can prevent SSH connections. If you're using a static IP address for your Raspberry Pi, make sure that the IP address, gateway, and DNS settings are configured correctly. If you're using DHCP, ensure that the Raspberry Pi is obtaining an IP address from the DHCP server.Connecting to your Raspberry Pi via ethernet can often provide a more stable and reliable connection compared to Wi-Fi. If you're experiencing connectivity issues with Wi-Fi, try connecting the Raspberry Pi to your network using an ethernet cable.Enabling SSH opens up a world of possibilities for remotely managing and controlling your Raspberry Pi. You can use SSH to execute commands, transfer files, and even run graphical applications remotely. One popular application is setting up a remote desktop environment using VNC or XRDP. This allows you to access the Raspberry Pi's desktop environment from your computer, providing a full graphical interface.To install XRDP on Raspberry Pi OS, run the command `sudo apt install xrdp`. Once installed, you can connect to the Raspberry Pi's desktop using a remote desktop client on your computer. Simply enter the Raspberry Pi's IP address into the remote desktop client, and you'll be prompted for your login credentials.Another powerful tool for remote access is OpenMediaVault (OMV). OMV is a network-attached storage (NAS) solution that can be installed on a Raspberry Pi. It provides a web-based interface for managing storage, users, and services. You can access OMV from your computer using a web browser.When using OMV, you may want to access your Raspberry Pi's files using a file transfer protocol such as SFTP (Secure FTP). SFTP is a secure version of FTP that uses SSH for encryption. You can use an SFTP client such as FileZilla to connect to your Raspberry Pi and transfer files securely.To access your Raspberry Pi 4 with OpenMediaVault (OMV) from Windows 11 using SSH or FileZilla, ensure that the SSH server is enabled on the Raspberry Pi. You may need to configure OMV to allow SSH access. Also, make sure that your Windows 11 computer is updated and has a local network connection. Other users often reply with suggestions, tips, and links to guides for OMV settings and protocols in online forums when users ask about these setups.In conclusion, enabling SSH on your Raspberry Pi is a fundamental step towards unlocking its full potential for remote access and control. Whether you're setting up a headless server, developing IoT applications, or simply tinkering with electronics, SSH provides a secure and convenient way to interact with your Raspberry Pi from anywhere on your network, or even from across the internet with proper configuration and security measures. By following the steps outlined in this guide and keeping security best practices in mind, you can confidently harness the power of SSH and take your Raspberry Pi projects to the next level. Remember to always prioritize security by changing default passwords, using SSH keys, and keeping your system software up to date. With these precautions in place, you can enjoy the freedom and flexibility of remote Raspberry Pi access without compromising security.

| Category | Information |
|---|---|
| Name | Raspberry Pi |
| Type | Single-board computer (SBC) |
| Developer | Raspberry Pi Foundation |
| Purpose | Education, development, prototyping, hobby projects, media center, IoT devices |
| Operating Systems | Raspberry Pi OS (formerly Raspbian), Ubuntu, Windows IoT Core, and many others |
| Connectivity | Ethernet, Wi-Fi (on some models), Bluetooth (on some models) |
| Remote Access Protocol | SSH (Secure Shell) |
| Default SSH Status | Disabled for security reasons |
| Enablement Methods | Raspberry Pi Imager, raspi-config, creating an empty 'ssh' file in the boot partition |
| Common SSH Clients | PuTTY (Windows), OpenSSH (Linux, macOS), Windows PowerShell, Windows Command Prompt |
| Default SSH Port | 22 |
| Security Considerations | Change default password, use SSH keys for authentication |
| Troubleshooting Tips | Verify IP address, check network connectivity, ensure SSH server is running, firewall settings |
| Official Website | raspberrypi.org |
- Friv 99 Games Play Top Friv Games Online Year Safe
- Filmyfly Your Guide To Bollywood Hollywood South Movies News More

How to SSH into Raspberry Pi for Remote Access on Windows
How to SSH into Raspberry Pi for Remote Access on Windows
How to SSH into Raspberry Pi for Remote Access on Windows
