Raspberry Pi P2P Connection: The Ultimate Guide & Solutions
Ever wondered if your Raspberry Pi could communicate directly with another device, bypassing the need for a traditional network? Establishing a peer-to-peer (p2p) connection with your Raspberry Pi is not just a possibility, it's a powerful tool for creating secure, direct linkages, opening doors to a world of innovative applications. From home automation to industrial sensing, the versatility of this approach is undeniable.
The initial step in realizing this potential involves configuring your Raspberry Pi with the necessary software components. This includes installing a suitable operating system, such as Raspberry Pi OS, and enabling the p2p functionality. The process demands meticulous attention to detail, as each step is crucial for ensuring a seamless and secure connection. The ultimate goal is to create a direct communication channel that sidesteps the typical reliance on a router or access point.
| Category | Information |
|---|---|
| Concept | Raspberry Pi Peer-to-Peer (P2P) Connection |
| Definition | A direct connection between two or more Raspberry Pi devices (or a Raspberry Pi and another device) without using an intermediary network like a router. |
| Primary Use Cases |
|
| Software Requirements |
|
| Hardware Requirements |
|
| Configuration Steps |
|
| Security Considerations |
|
| Alternative Technologies |
|
| Potential Challenges |
|
| Example Applications |
|
| Key Commands |
|
| References | Raspberry Pi Official Website |
One practical application of this direct communication is the use of LoRa modules, such as the SX1278, with a Raspberry Pi. In this scenario, the Raspberry Pi can communicate with another SX1278 module connected to a microcontroller like an Arduino. This setup proves especially useful in environments where the Arduino acts as a server, collecting data from sensors and transmitting it to the Raspberry Pi over long distances via LoRa. The Raspberry Pi, in turn, functions as a client, receiving and processing this information.
- Hdmovieshub Is It Safe Risks Amp Legal Alternatives Guide
- Filmyfly Your Gateway To Hollywood Bollywood Year
This method is particularly advantageous in scenarios where the Arduino serves as a remote data acquisition unit, transmitting sensor data over considerable distances to the Raspberry Pi. The Raspberry Pi then acts as the central processing hub, receiving and interpreting the information. This configuration finds applications in environmental monitoring, agricultural sensing, and various industrial automation scenarios.
Consider, for instance, a situation where a Raspberry Pi is configured with Wi-Fi, typically connecting through a router. When attempting to establish a p2p connection between this Raspberry Pi and a PC, a critical consideration arises: ensuring that communication does not loop back through the router. This necessitates configuring separate IP addresses for the direct p2p link, effectively creating a dedicated communication pathway.
Let's assume the router's address space is 192.168.1.0/24. In this case, the p2p connection would require assigning IP addresses outside this range to prevent conflicts and ensure direct communication. This careful IP address management is essential for maintaining the integrity of the p2p connection.
- Prmovies 123movies Your Guide To Free Movie Streaming Alternatives
- Camilla Araujo Erome Unveiling The Content Creators Magic
In advanced Raspberry Pi setups, particularly those utilizing kernel drivers under version 3.6.11+ and with p2p enabled via the command "iwpriv wlanxx p2p_set enable=1," the Raspberry Pi can detect Wi-Fi Direct-enabled Android devices, and vice versa. However, merely detecting the device does not guarantee a successful connection. Further configuration and compatibility checks are often required to establish a stable link.
One of the simplest methods for obtaining the network block within the wpa_supplicant.conf file is to allow wpa_supplicant to configure it automatically. This can be achieved by initiating the p2p group with the "p2p_group_add" command as usual, making it persistent, and then removing it immediately afterward. This process allows wpa_supplicant to establish the necessary network settings, simplifying the configuration process.
The performance of the IEEE 1588 protocol using Raspberry Pi over WLAN has been evaluated in studies by Irfan Allahi, Bilal Khan, Aamir Sohail Nagra, Rabbia Idrees, and Shahid Masud. While the papers may not explicitly state the achievable timing accuracy, they provide valuable insights into the protocol's performance in real-world scenarios. These studies are crucial for understanding the limitations and capabilities of using Raspberry Pi for time-sensitive applications.
Establishing a p2p connection between a Raspberry Pi and an Android phone requires the installation of specific packages and the modification of certain configurations. These steps ensure compatibility and enable the devices to communicate directly. The exact packages and configurations will vary depending on the specific Android version and Raspberry Pi OS being used.
Supported software platforms include Raspberry Pi OS, Raspberry Pi Connect, Raspberry Pi Desktop for PC and Mac, Android, Debian, FreeBSD, Gentoo, Linux Kernel, NetBSD, OpenSUSE, Plan 9, Puppy, and Arch. This broad compatibility makes the Raspberry Pi a versatile platform for p2p communication across various operating systems.
Regarding the Pico W and its support for Wi-Fi Direct mode, the consensus suggests that it does not natively support this feature. Therefore, attempting to establish a direct p2p connection using Wi-Fi Direct on the Pico W may not be feasible without additional hardware or software modifications.
The process of setting up Wi-Fi Direct (Wi-Fi p2p) and a DHCP server can be simplified with helpful guides and tutorials. These resources provide step-by-step instructions and troubleshooting tips for configuring the necessary software and hardware components. Remember to consult reliable sources and follow best practices for security and network management.
Commands such as "Flags=73 mtu 65536 inet 127.0.0.1 netmask 255.0.0.0 inet6 ::1 prefixlen 128 scopeid 0x10 loop txqueuelen 1000 (local loopback) rx packets 15072 bytes 1011904 (988.1 kib) rx errors 0 dropped 0 overruns 0 frame 0 tx packets 15072 bytes 1011904 (988.1 kib) tx errors 0 dropped 0 overruns 0 carrier 0 collisions 0 usb0:" provide valuable information about the network configuration and status. These commands can be used to diagnose connectivity issues and verify the proper functioning of the p2p connection.
In a dedicated setup involving two Raspberry Pi 3 B+ devices, one configured as the group owner and the other as the client, establishing Wi-Fi Direct (p2p) requires careful configuration of both devices. This setup can be used to create a dedicated communication channel between the two Raspberry Pis, bypassing the need for a traditional network.
Resources like the Wilink8 Linux advanced demons provide detailed information about p2p modes and can serve as valuable technical references. These resources delve into the intricacies of p2p communication protocols and provide insights into advanced configuration options.
Installing packages like Libncurses5 may be necessary for certain applications and utilities. These packages provide essential libraries and dependencies that enable the proper functioning of software components. Ensure that you have the necessary packages installed before attempting to run applications that rely on them.
When troubleshooting issues with Raspberry Pi p2p connections, it's important to remember that even a single package that is not fully installed or removed can cause problems. Therefore, carefully review the installation process and ensure that all packages are properly configured.
For those seeking specific information on programming a Raspberry Pi 3B to communicate via Wi-Fi without relying on a home router's resources, the key lies in establishing an ad hoc or Wi-Fi Direct connection. This allows the Raspberry Pi to communicate directly with other devices, bypassing the need for a traditional network infrastructure.
Imagine placing a Raspberry Pi in the attic and needing to communicate with it remotely while it's running another application. An ad hoc or Wi-Fi Direct connection provides the perfect solution, allowing you to access and control the Raspberry Pi without relying on a router.
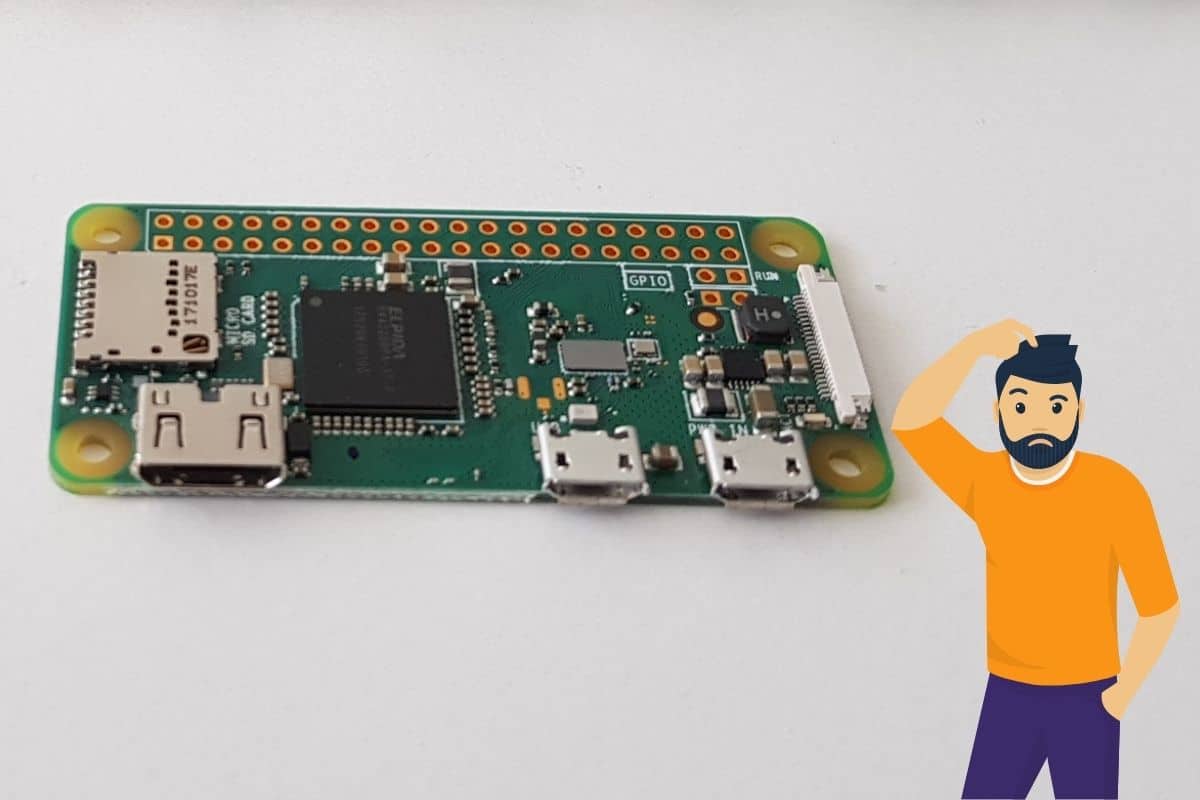
WebRTC (Web Real-Time P2P communication) can be successfully implemented on a Raspberry Pi Zero using a NodeJS command-line module. While the module already supports ARMv7+ (Pi2, Pi3, etc.), it requires compilation from source code to function correctly with the ARMv6 Pi Zero.
The p2p technique inherently involves port forwarding, although the mechanism may be somewhat hidden. The port is forwarded outside your own network, allowing direct communication between devices without the need for complex NAT traversal techniques.
Establishing a p2p connection from a Raspberry Pi is a straightforward process that can be accomplished with the right tools and configuration. By following the steps outlined in this guide, you can unlock the full potential of your Raspberry Pi and create secure, direct communication channels for a wide range of applications. Remember to consult reliable resources and follow best practices for security and network management to ensure a stable and reliable connection.
- Discover Good Mood Secrets Feel Important Subscribe Now
- Fry99 Your Ultimate Guide To Online Entertainment Must Read

Mastering Raspberry Pi P2P Network Setup A Comprehensive Guide
Mastering Raspberry Pi P2P Network Setup A Comprehensive Guide

How To Securely Connect Remote IoT P2P Raspberry Pi Download On Mac A
