Raspberry Pi SD Card Health: Monitor & Protect Your Data Now!
Is your Raspberry Pi acting up? The Achilles' heel of the entire Raspberry Pi ecosystem lies in the often-overlooked SD card, and ignoring its health can lead to catastrophic data loss and system instability. It's a harsh reality: these tiny storage devices, essential for booting and running your Pi, are prone to corruption and failure.
The pervasive problem of SD card corruption is arguably the most frequent headache encountered by Raspberry Pi users. Older SD cards are particularly susceptible, often becoming corrupted to the point where the operating system fails to boot entirely. This fragility makes proactively monitoring SD card health a critical practice for maintaining a stable and reliable Raspberry Pi experience. Detecting errors early, estimating the remaining lifespan, and understanding the overall condition of your SD card can be the difference between seamless operation and a frustrating system crash. The ability to monitor SD card health, detect its remaining lifetime, and identify disk errors empowers users to proactively replace failing cards, preventing data loss and system failures before they occur.
| Attribute | Details |
|---|---|
| Role | Peripheral Storage and Boot Medium |
| Importance | Essential for Raspberry Pi's Operating System, Data Storage, and Functionality |
| Common Issues | Data Corruption, Read/Write Errors, Premature Failure |
| Monitoring Benefits | Early Detection of Problems, Prevention of Data Loss, Extended Lifespan of Raspberry Pi System |
| Tools for Monitoring | Cockpit, Remote IoT Monitoring, Custom Scripts |
| Capacity Recommendations | Minimum 16GB, Recommended 32GB for Raspberry Pi OS installations |
| Maximum Capacity | 2TB (due to MBR limitations) |
| Boot Modes | Required for initial boot and enabling USB boot mode on Raspberry Pi 3 Model B and later |
| Security | Remote monitoring facilitated via SSH for secure access and management |
| Reference | Raspberry Pi Official Website |
Remote monitoring offers a strategic advantage, allowing you to oversee your Raspberry Pi's performance and identify potential issues from any location. This is especially crucial for headless setups or systems deployed in remote environments. Understanding the concept of remotely monitoring your Raspberry Pi is fundamental to ensuring its continuous operation and minimizing downtime. Cockpit, available through the official repository and installable with a simple 'apt' command, stands out as a user-friendly and efficient tool for remote Raspberry Pi monitoring and management. Other free tools are also available, offering a range of features for in-depth system analysis. But the core of the system relies on the humble microSD card. As with any boot media, youll see improved performance with a high-quality card. A corrupted SD card is more than just an inconvenience; it can render your entire Raspberry Pi system unusable. Thats where proactive steps come in. The aim here is to explore the various ways in which you can remotely monitor your Raspberry Pi, ensuring its stability and longevity.
- New Hindi Movies 2025 Find Latest Releases Where To Watch
- Desi Mms The Rise Of A Digital Phenomenon Explained
Why is sd card monitoring essential for your raspberry pi? Let's dive in. On a Raspberry Pi, the SD card is far more than just an accessory; it's the heart and soul, the repository for everything crucial. Without a functional SD card, there's simply nowhere for vital components like the operating system to reside. Therefore, rigorously monitoring sd card health, detecting remaining lifetime, and identifying disk errors is not merely a suggestion it's an absolute necessity. By proactively monitoring the sd card health you can determine if you need to replace the sd card or not.
The process of setting up remote IoT monitoring with SSH (Secure Shell) on your Raspberry Pi provides a secure and efficient method for managing and connecting to your device from anywhere in the world. This setup enables you to remotely access and control your Raspberry Pi, making it ideal for various IoT applications where physical access is limited or impossible. Secure access to your Raspberry Pi devices using SSH (secure shell) is essential for accessing and managing your Raspberry Pi remotely, and the Raspberry Pi is a versatile platform, often utilized in remote IoT applications, making remote access paramount. Monitoring its SD card becomes crucial for maintaining system stability and preventing data loss. The purpose of this guide is to explore the various ways in which you can remotely monitor your Raspberry Pi, ensuring its stability and longevity.
To embark on this journey, you'll first need to gather a few essential items to transform your Raspberry Pi into a remote monitoring powerhouse. First, you'll need a Raspberry Pi 5 (or earlier versions like Raspberry Pi 3/4 for lighter tasks). A microSD card (at least 16GB for the operating system and monitoring software) is also necessary, plus a power supply for the Raspberry Pi. You'll also need the Raspberry Pi 5 (or earlier versions like Raspberry Pi 3/4 for lighter tasks). For Raspberry Pi OS Lite, we recommend at least 16GB, but a 32GB card is preferable for Raspberry Pi OS installations or more demanding projects. You can use any sd card with a capacity of less than 2tb. Capacities above 2tb are currently not supported due to limitations in the MBR (Master Boot Record). Larger cards may not be fully recognized or utilized. We recommend using an sd card with at least 32gb of storage for raspberry pi os installations. For raspberry pi os lite, we recommend at least 16gb. You can use any sd card with a capacity of less than 2tb. Capacities above 2tb are currently not supported due to limitations in the mbr.
- Filmyfly Your Guide To Bollywood Hollywood More Alternatives
- Bollyflix Ninja Your Guide To Streaming Bollywood Movies Now
Before the Raspberry Pi 3 Model B can network boot, it needs to be booted from an SD card with a configuration option to enable USB boot mode. This process sets a bit in the OTP (One-Time Programmable) memory within the Raspberry Pi SoC (System on a Chip), enabling network booting functionality. Before the raspberry pi 3 model b will network boot it needs to be booted from an sd card with a config option to enable usb boot mode. This will set a bit in the otp (one time programmable) memory in the raspberry pi soc that enables network booting. Before the raspberry pi 3 model b will network boot it needs to be booted from an sd card with a config option to enable usb boot mode. This will set a bit in the otp (one time programmable) memory in the raspberry pi soc that enables network booting. Before the raspberry pi 3 model b will network boot it needs to be booted from an sd card with a config option to enable usb boot mode. This will set a bit in the otp (one time programmable) memory in the raspberry pi soc that enables network booting.
To effectively monitor your Raspberry Pi remotely, you'll need to find the Pi and its SSH server. Connecting to the Pi requires gathering its IP address. After powering up, your router should report an unknown DHCP client. I just booted my raspberry pi for the first time and can not gain remote access. After powering up, my router reports an unknown dhcp client to be at 192.168.0.142. This is usually done through your router's administration interface, which will list all connected devices and their corresponding IP addresses. Once you have the IP address, you can use SSH to remotely access the Pi's command line interface. Finding the Pi and its ssh server. To connect to the pi you need to gather the ip address of your pi.
Raspberry Pi Imager provides a user-friendly method for installing Raspberry Pi OS and other operating systems onto a microSD card, making it ready for use with your Raspberry Pi. Install raspberry pi os using raspberry pi imager. Raspberry pi imager is the quick and easy way to install raspberry pi os and other operating systems to a microsd card, ready to use with your raspberry pi. Download and install raspberry pi imager to a computer with an sd card reader. Put the sd card you'll use with your raspberry pi into the.
An alternative method for remote access is using Raspberry Pi Connect, a free screen sharing and remote shell service, or Raspberry Pi OS with desktop. These options allow you to interact with the Raspberry Pi's graphical user interface remotely, making tasks like file management and software installation easier. Use raspberry pi connect, a free screen sharing and remote shell service or raspberry pi os with desktop, on the sd card in the usual. Use raspberry pi connect, a free screen sharing and remote shell service or raspberry pi os with desktop, on the sd card in the usual.
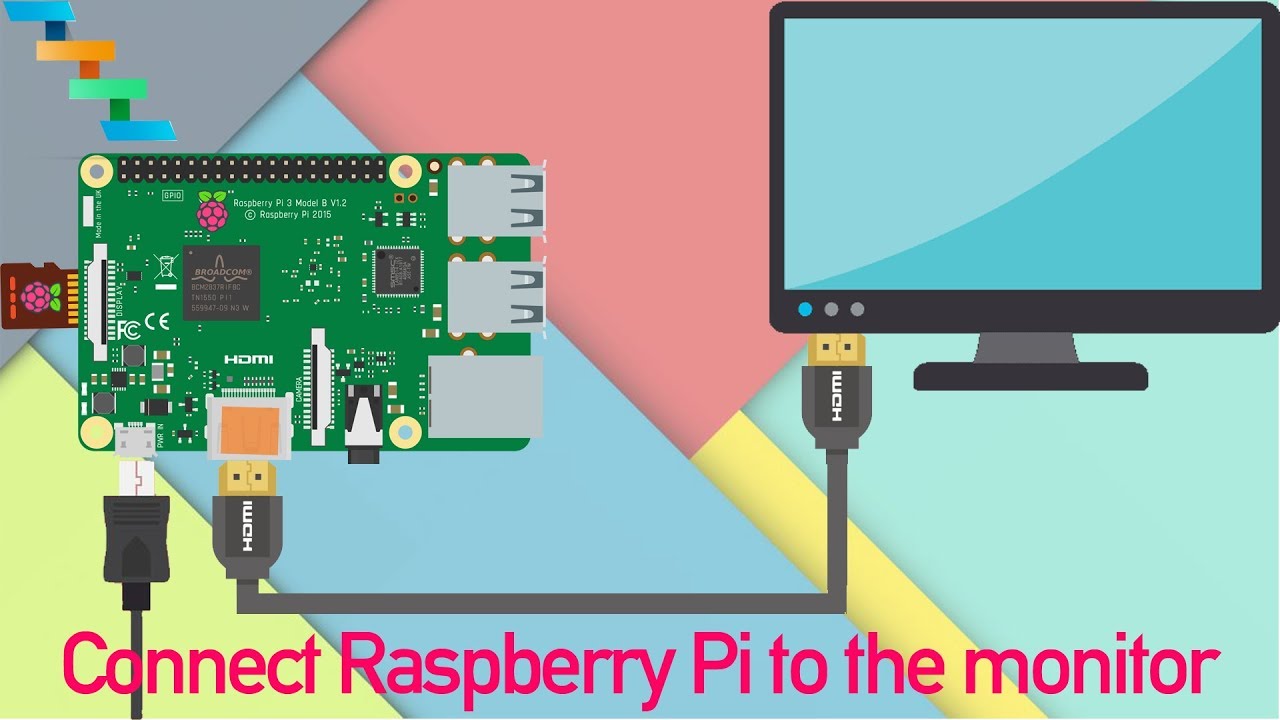
For situations requiring specific display configurations, manually setting resolution and rotation can be crucial. This is particularly relevant when using the Raspberry Pi with non-standard displays or in applications where the screen orientation needs to be adjusted. Manually set resolution and rotation.
Here we are using Raspberry Pi 3. This sets the speed of the USB controller built into the processor on Raspberry Pi computers. On Raspberry Pi 4, this controller is disabled by default and is only connected to the USB Type-C power input connector. Sets the speed of the usb controller built into the processor on raspberry pi computers. On raspberry pi 4, this controller is disabled by default, and is only connected to the usb type c power input connector.
Monitor the health of the sd card and the lifetime of raspberry pi. An SD card plays an essential role on Raspberry Pi, and with the help of remote IoT, you can monitor SD card health and detect the remaining lifetime and disk errors of the SD card so that you can determine if you need to replace the SD card or not. Sd card plays an essential role on raspberry pi, and with the help of remote iot, you can monitor sd card health and detect the remaining lifetime and disk errors of the sd card so that you can determine if you need to replace the sd card or not.
Monitor sd card health and status. Monitor sd card health and remaining lifetime of raspberry pi.
But the fragility of SD cards is the weak link in the Raspberry Pi ecosystem. To mitigate this, proactive measures are essential. These include regular backups, using high-quality SD cards, and implementing SD card monitoring tools. In addition, proper shutdown procedures are crucial to prevent data corruption. Always shut down the Raspberry Pi gracefully through the command line or desktop environment, rather than simply cutting the power.
Insert the SD card in the PC and follow the instructions here to flash and configure the OctoPrint image to the SD card using Etcher. Configure the wireless settings using settings found here. Insert the SD card with the OctoPrint image into the Raspberry Pi. These are very easy steps.
- Exploring The Haley Nicole Nude Controversy Facts Amp Ethics
- Camilla Araujo Erome Unveiling The Content Creators Magic

How To Use A Raspberry Pi System Monitor Remote App For Free A Complete

Unlock The Power Of Free Remote Access Raspberry Pi For Seamless
How To Monitor Raspberry Pi Remotely With A Free App A Complete Guide 3
